
Image of Sony Vaio VPSCB Series
There is no doubt the Sony Vaio VPSCB manufacturer has created systems that are lovely and portable to carry about for your professional businesses. This series of laptops is carefully crafted for professional use. It comes with added features which made it stands out among its category of laptop computers in the market during debut.
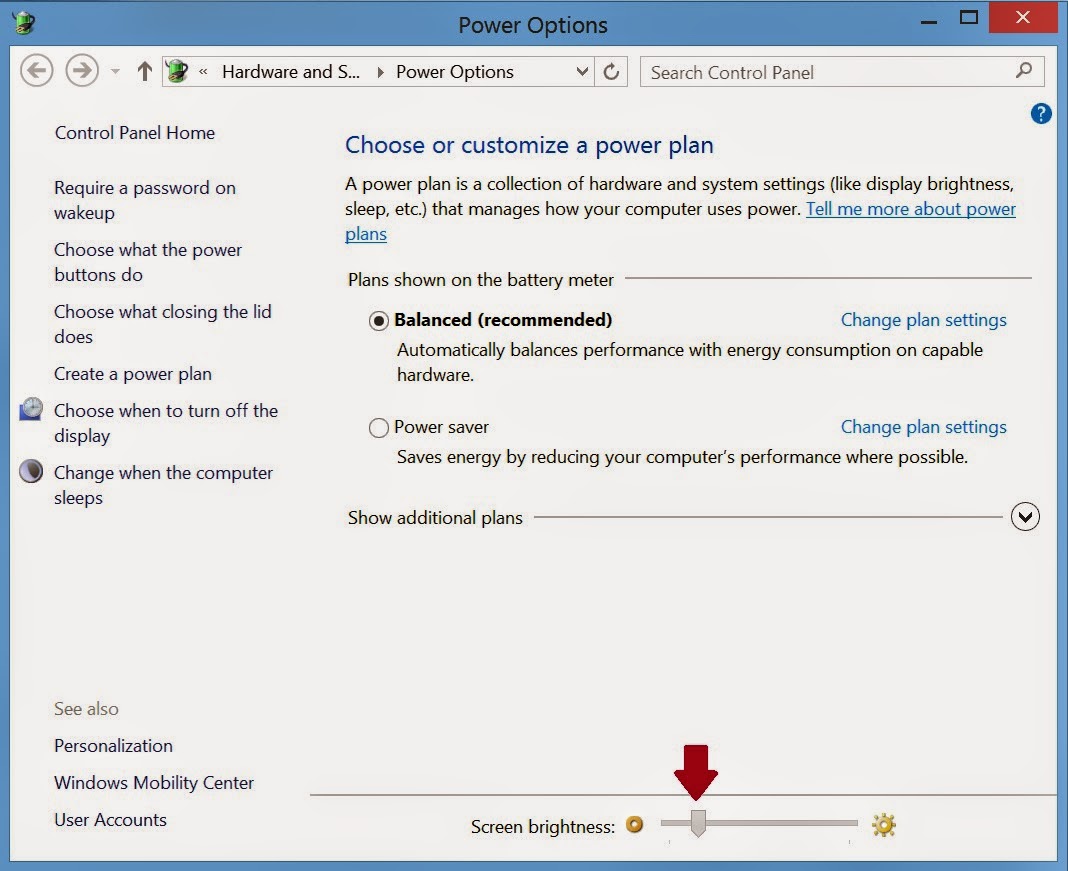
Image showing red arrow pointing to disabled screen brightness
The fact that the portability worth the buy there is also the downside like poor heat dissipation due to the direct covering of the vent by the lid. It prevents heat generated internally by the microprocessor from going out directly thereby accumulating it within. This makes the entire bottom to heat up. Putting it on the lap is not advisable because of that.
Nevertheless, if you are using this beautiful system for Windows 8.1 and you are experiencing problem with adjusting the screen brightness or contrast this information is meant for you. It is not a problem with your screen nor there is any Malware attack. This is simply something that has to do with the Windows Operating System(OS) having more than one driver for your system make graphic adapter. It is necessary to take the best practical approach in finding solution. This has to come in the form of rudimentary and modest means of uninstalling the culprit driver from the system than trying to debug it from what might seem the other alternative causes of the issue.
To start off it is good to follow this step-by-step information below.

Image showing Windows + R keys
STEP 1: Press Windows + R keys to open 'Run' .

Image showing Run dialog
STEP 2: Type or copy and paste mmc devmgmt.msc into the 'Run' dialog and click 'OK' to continue.

Red arrow pointing to the little arrow beside Graphic adapter
STEP 3: Click on the little arrow before 'Display adapter' to expand it.

Image showing process of uninstalling the graphic driver
STEP 4: Right-click on 'AMD Radeon 6600M or 6700M series' and select 'Uninstall'.

Image showing check box to confirm delete
STEP 5: Mark the small box close to 'Delete the driver software for this device' and click 'OK' to continue.

Image of Windows restarting
STEP 6: Restart the system if changes doesn't take effect immediately.