The system failed to start up and there are many things which are the consequences to the reason why. Taking the right steps to troubleshoot the problem has taken so much without really coming up with enough evidences why it has occurred. The only thing one can remember is that it happened during the time trying to do Windows Setup. After successfully setting up the operating system at the end only to be greeted with a screen of blanked desktop.
Every attempt to make changes failed to yield any success. Clicking on the desktop with the only with the only visible thing being the cursor against the dark background produces nothing. Pressing the Windows + E keys instantaneously Windows folder comes up and one can see the desktop and other settings of the Windows operating system.
The network connection is installed and connected with success. Messengers and other applications are also installed but against the blank background that refuses to go away, even after a reboot.
Image of blank screen background after Setup in Windows 7
If you encounter such problem there is a quick step-by-step method of getting it solve on time to have your system back in order.
Step 1: Get your original Windows installation and your system -make controller software discs ready.

Image of Original Windows 7setup disc
Step 2: Restart the system and enter into your system BIOS setup. On how to enter your system BIOS setup look below the screen at boot and press the key specified for your system to enter into setup. It's usually F2 for most computers.

Image of a computer BIOS
Step 3: At the 'Advanced Settings' change SATA controller to IDE , save changes and exit - only if you don't have your system make controller driver.

Image of enabled IDE and disabled SATA at the BIOS
Step 4: Boot from the optical driver with the Windows installation disc and continue with the setup.
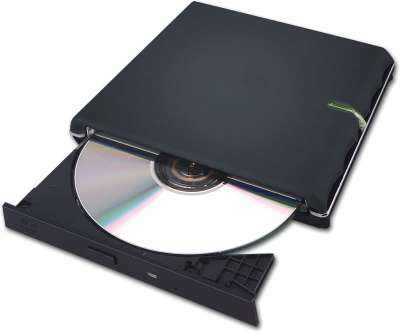
Image of Optical driver with installation disc
Step 5: If you have your system make drivers insert the disc and press F6 to load it. or Google on controller driver for the system and download it from appropriate sites(most especially, from the product maker website).

Image of Windows partitioning
Step 6: Partition your hard disk(HDD) and continue with the Windows installation.
Step 7: On how to do Windows installation visit this LINK